Oct 10, 2026How-To & Troubleshooting
Why a Vacuum Brake Bleeder Keeps Showing Air Bubbles: What to Check First
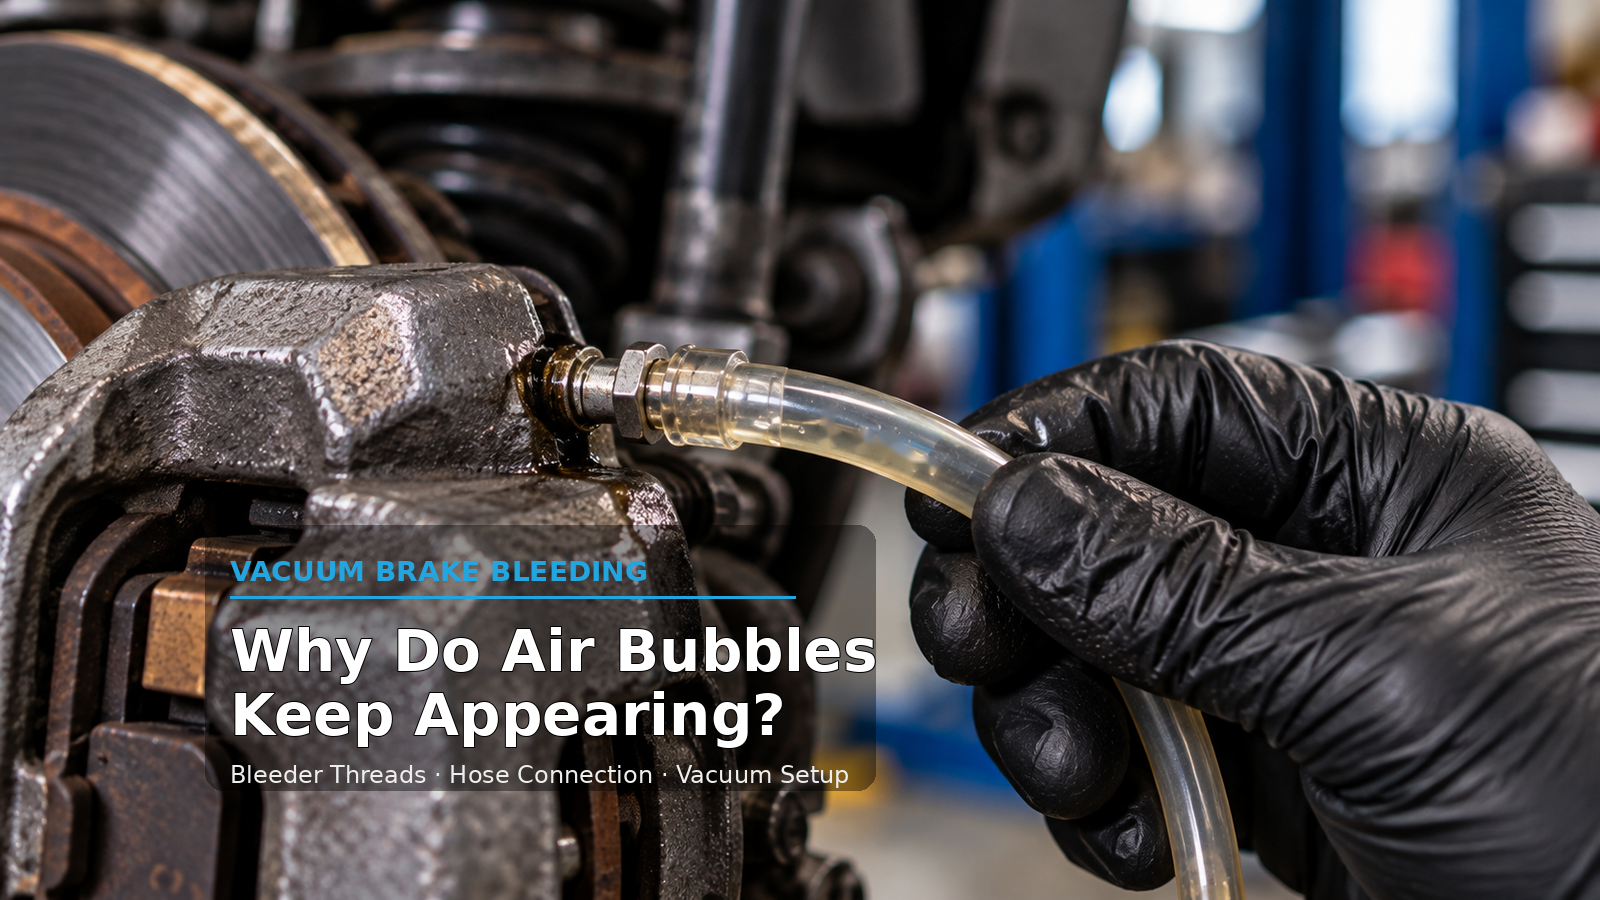
A vacuum brake bleeder can show bubbles after system air is removed, because vacuum can pull external air around the bleeder screw threads. Check the setup first.
1. Quick Answer
A vacuum brake bleeder can keep showing bubbles even after air has already been removed from the hydraulic system. Under vacuum, air can be pulled in around the loosened bleeder screw threads or another connection in the bleeding setup, so the bubbles in the hose are not automatically trapped air left in the brake lines. Check the vacuum setup and the bleed connections before treating every bubble as a system problem.
2. Why Vacuum Bleeding Can Show Bubbles at the Bleeder Screw
A bleeder screw has to be opened before fluid can be drawn through it, and that opening is also where outside air can enter. Manufacturer instructions for vacuum bleeders state this directly: as brake fluid is vacuumed through the bleed screw, air can also be drawn into the bleed tube from around the bleed screw threads. The instructions are explicit that this can give the misconception that air is bleeding from the lines, when the air is entering at the fitting instead. So the hose can look like it is still pulling air out of the brake lines while it is pulling air in from around the screw.
The same instructions note that tiny bubbles can still appear after air has already been removed from the hydraulic lines. That is the whole reason this needs a check rather than a conclusion: bubbles at the bleeder screw have more than one possible source, and the thread path is one of them.
3. Bubble Pattern Alone Does Not Diagnose the Brake System
Some tool instructions describe what small, even bubbles can look like, but a single manufacturer's observation rule is not a vehicle diagnosis. Treat the bubble pattern as one observation among several: the vacuum setup has to be checked, and the vehicle manufacturer's bleeding procedure stays authoritative for the vehicle in front of you. Nothing in the visible bubbles tells you on its own that the hydraulic system still contains air.
4. Check the Bleed Adapter, Hose and Collection Reservoir
If bubbles keep appearing, the external part of the setup is the first place to look, because every joint in the vacuum path is a potential air entry point. Tool instructions direct the user to a snug fit between the bleed adapter and the bleed fitting, and to secure hose connections. Where the setup draws into a collection reservoir or jar, manufacturer guidance points to the vessel's seal as a place to check when fluid is not being drawn — a poor seal there is a vacuum leak in the setup, not in the brake system.
This is the same logic used for any vacuum-based test tool: verify that the circuit is sealed before interpreting what the tool is showing. Here, the circuit is the bleeder fitting, the adapter, the hose and the collection vessel.
5. What If the Bleeder Is Not Pulling Fluid?
When no fluid moves at all, stay with the setup. Instructions point to the collection vessel seal, the connection between the adapter and the fitting, the vacuum source itself where the unit runs on compressed shop air, and the state of the bleed fitting. These setup points can prevent normal fluid flow without proving a fault in the brake system. The master-cylinder fluid level should also be monitored so the reservoir does not run dry during bleeding. This is setup troubleshooting, not a diagnosis of the caliper, master cylinder or ABS system.
6. Keep the Master Cylinder Reservoir From Running Dry
Vacuum bleeding removes fluid from the system, so the reservoir level has to be maintained while bleeding. Manufacturer instructions are explicit that the master cylinder reservoir must stay filled during bleeding, because letting it run dry can introduce air into the hydraulic system — exactly the condition the bleeding procedure is intended to avoid. The level is a controlled part of the procedure, not an afterthought.
7. When to Stop Troubleshooting the Tool and Follow Vehicle Service Information
If the vacuum setup is sealed, fluid is flowing, and the external air-entry points have been checked, then the tool and setup side of the problem has been worked through. Any remaining concern about bleeding, pedal feel or the hydraulic system belongs to the vehicle manufacturer's service procedure for that vehicle — including the bleeding sequence, the specified fluid and any ABS-specific steps. Guessing at the modulator, master cylinder or caliper from bubbles in a hose is not a diagnosis.
8. What Tool Buyers Should Check in a Vacuum Brake Bleeder Kit
Vacuum generation method: whether the unit runs on compressed shop air or another source.
Required air specification: the working pressure the manufacturer states for that unit.
Reservoir or container capacity: as documented for the kit.
Hose configuration and connections: how the hose couples to the unit and to the adapters.
Bleed adapters and expansion-tank adapters: which fittings are included.
Quick coupler and any master-cylinder refill accessories, where documented.
Replacement hoses, seals or adapters, written instructions, kit contents, and packaging where documented.
TEKO’s Pneumatic Vacuum Brake & Clutch Bleeder Kit, for example, is a 2-piece kit documented for replacing brake fluid and bleeding brake and clutch systems. It sits in the Brake Service Tools range and includes a bleeding unit with pistol grip and a 1 L container, 4 adaptors for expansion tank, 1 compressed air connection nipple, 2 bleeding adaptors and 1 hose, with a 1/4″ quick coupler hose connection and a stated working pressure of 6-12 bar. That working pressure is the specification for this unit, set against your compressed-air supply — the published contents and figures are what a buyer checks, not the product name.
If you are sourcing brake-bleeding tools for your market, send us your brake-bleeding tool requirements through our inquiry form, with your target market, the brake or clutch bleeding application, your pneumatic shop-air requirement, the adapter and hose configuration you need, your container-capacity requirement, quantity, and any private label or OEM requirements — and we will confirm what we can support.
Frequently Asked Questions
Why does my vacuum brake bleeder keep showing air bubbles?
Under vacuum, air can be pulled in around the loosened bleeder screw threads or another connection in the setup, so bubbles in the hose are not automatically trapped air in the brake lines. Check the bleeder, adapter, hose and collection-vessel connections before treating the bubbles as a system problem.
Can air enter around the bleeder screw threads?
Yes. Manufacturer instructions state that vacuum can draw air around the threads of the loosened bleeder fitting, and that this external air can create the impression that air is still coming from the brake lines. The bleed screw has to be open to flow fluid, and that opening is also an air path under vacuum.
Why is my vacuum brake bleeder not pulling fluid?
Check the setup: the collection vessel seal, the connection between the adapter and the fitting, the vacuum source where the unit runs on compressed shop air, the state of the bleed fitting, and the master cylinder fluid level. Each of these can stop flow without the brake system being at fault.
Can the master cylinder run dry during vacuum bleeding?
It can if the reservoir level is not maintained. Instructions require the master cylinder reservoir to stay filled during bleeding, because letting it run dry can introduce air into the hydraulic system and undermine the bleeding process.
What should buyers confirm in a pneumatic brake bleeder kit?
The vacuum generation method and its stated working pressure, the container capacity, the hose and quick-coupler arrangement, the included bleed and expansion-tank adapters, any master-cylinder refill accessories, written instructions and kit contents, and packaging or private-label options.